

Sign wording and placement
Wedding photo QR code signs: wording and where to put them.
A clear invitation, a readable print and a gentle reminder help guests understand what the code is for and how to add the photos they choose. No sign can guarantee that guests will scan or share.

Suggested wording
Three sign texts you can adapt
Each example gives guests one clear next step and makes the photo choice obvious. They are written for this guide as suggested wording, not collected from a customer album, and they are not customer stories or testimonials.
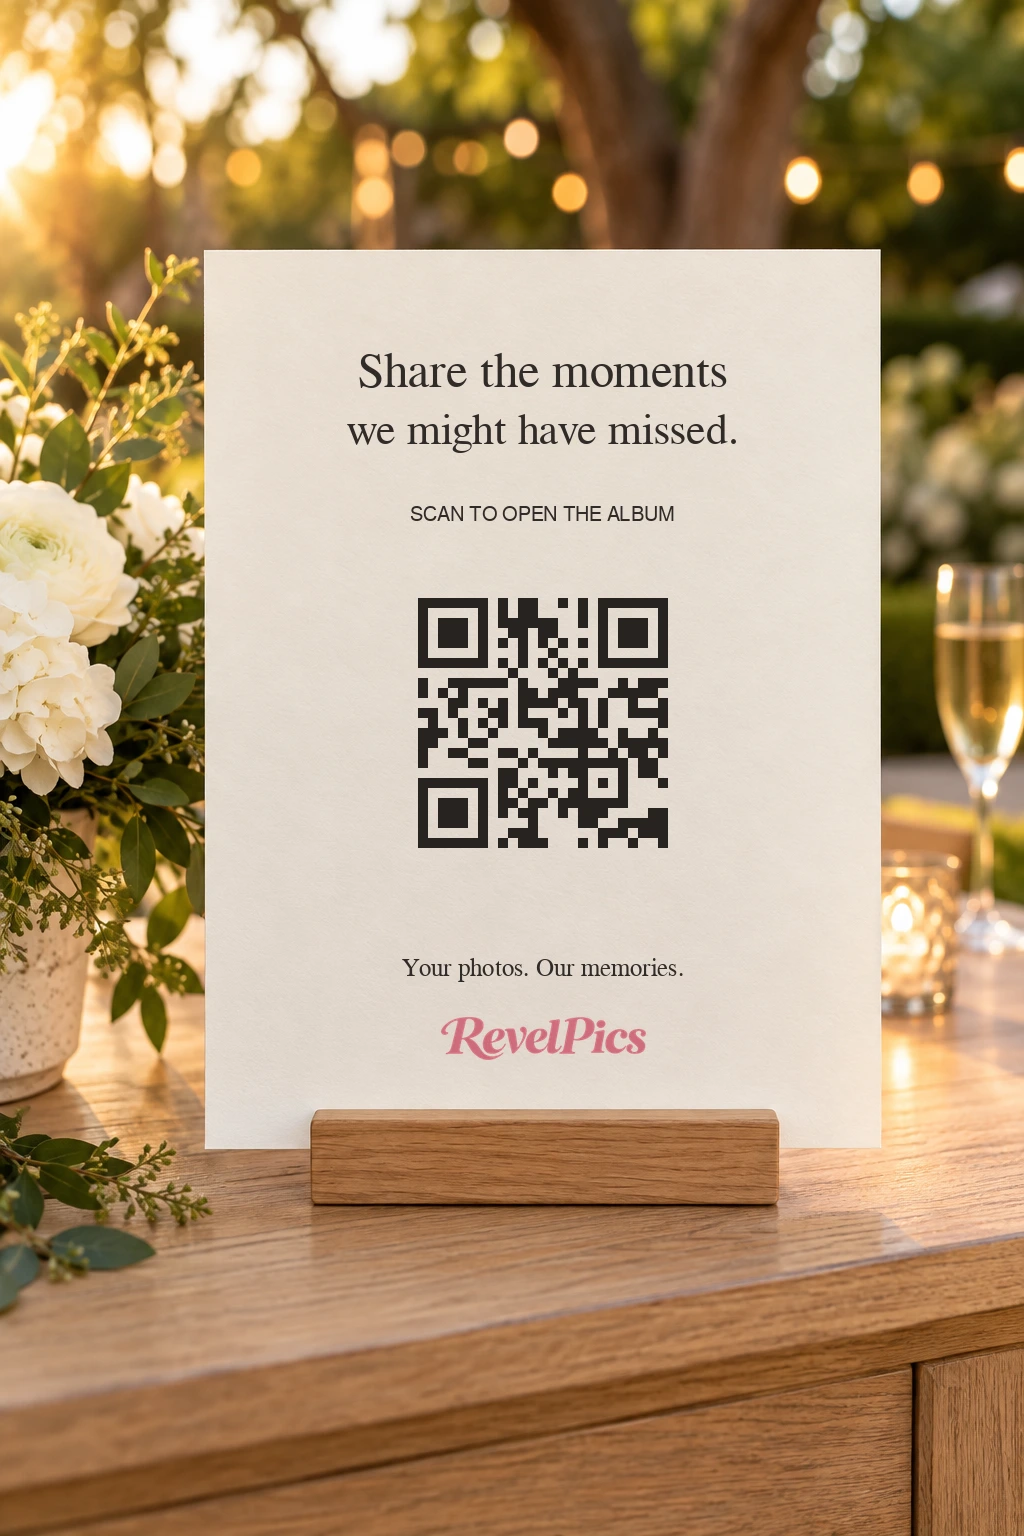
Example one
Simple table invitation
Our wedding album Scan the QR code to open the album. Choose the photos you want to add from your camera roll, then add them to the shared album. Only the photos you pick are uploaded. No app and no account needed.
Example two
Warm message from the couple
Something we would love from you While you are here, add a few of the photos you take today. Scan the code, choose the moments you want to share, and they will join one album with everyone else’s. There is no need to send them to us afterwards, and nothing uploads from your phone on its own.
Example three
Short welcome sign version
Welcome, and thank you for celebrating with us. Scan the code to add your photos to our album. Album link: insert your album link Pick the ones you like, and take your time. No app needed.
Before printing, replace the sample names and the placeholder line with your own details. The line that says insert your album link is a placeholder, not an address to copy: type your own album link there, or leave it out and let the code do the work.
Use the actual album QR code from your dashboard, not the demo code that appears in any marketing photograph on this site. The code printed in our photos opens the public demo album, not a customer album.

Where the sign goes
Four placements that behave differently
The same sign does different work in different places. Think about when a guest has a free hand and a reason to stop, not only where a card looks good on the table plan.
-
On reception tables, at seated view
Place a card on each reception table where seated guests can see it. Stand it upright instead of laying it flat among the cutlery, and keep the code within comfortable scanning reach.
-
At the welcome table, away from the arrival bottleneck
A larger sign near the welcome table catches guests before the ceremony. Keep it to one side of the queue, where someone can step out of the line to scan, rather than in the middle of the signing book or the seating plan.
-
Near the bar or the guestbook, where guests pause
These are places where people stand still for a minute. A sign works there when it is not hidden behind a flower arrangement, a candle or a stack of menus, and when the code faces the person waiting rather than the room.
-
In a next-day message, with the link written out
Send the album link the day after. Guests who took photos on the same phone they are reading the message on do not need to scan their own screen, and a direct link is easier than asking them to find the card again.
Before it goes to print
Check the print before the wedding
Before printing the whole batch, check the margin, contrast and final size, then scan a finished copy.
- Keep a plain margin around the code. Leave the quiet zone that comes with the downloaded sign untouched, with no border, text or photo inside it.
- Print the code dark on a light background. Strong contrast between the modules and the paper matters more than a decorative colour.
- Do not stretch, squash or crop the code. Scale it proportionally, and keep the whole square in the layout.
- Choose matte paper if the sign will sit under warm reception lighting. A glossy sheet reflects lamps and candles, and the reflection can land exactly where the code is.
- Test the final physical print, not the screen. Try it with several phones, at the distance a guest will actually stand, in the lighting the venue will actually have.
- Print a readable backup album link under the code. If a camera struggles, a guest can type the address instead.
- Check the event date and the adding window before you print. Adding photos opens on the date you set and stops when that window closes; browsing the album is separate.
- If you are having an unplugged ceremony, place the signs after the ceremony. Follow the venue rules about signage and where a sign can stand.
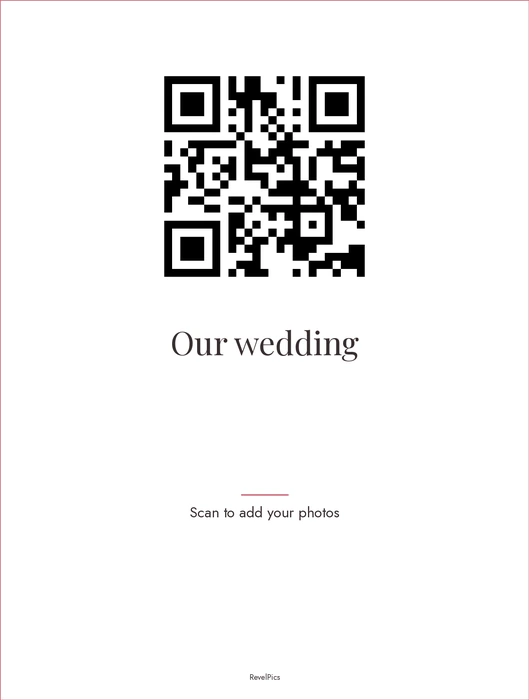
RevelPics does not publish a universal minimum scan size. The right size depends on the print, the distance, the lighting and the phone, which is why the physical test matters more than a number on a spec sheet.
Uploading needs an internet connection. If the venue Wi-Fi is poor or the signal drops when the room fills, a guest can open the link later and add the photos then, as long as the album is still inside its adding window. Photos do not upload while the phone is offline.
The printable sign is included with every plan. Custom sign designs depend on the plan you choose, and the plans page lists what each one includes. Compare the plans

Reminders without pressure
One announcement and one message the next day
A short mention from the microphone and one message the next day reach the guests who missed the sign. Keep both brief, and make it clear that adding photos is optional.
For the MC, after the ceremony and before the meal
Before we sit down: the couple has a shared photo album for today. If you take a photo you like, scan the code on your table and add it. You choose the photos, and there is no app to install. There is also a link on the welcome sign if you would rather type it later.
The next-day message
Thank you for celebrating with us yesterday. If you took photos, we would love to see them: insert your album link Add the ones you want to share. The album stays open until the adding window closes.
Replace the placeholder line with your own album link before sending. There is no automatic camera roll upload: guests choose every photo they add, and the album never lifts files from a phone in the background.
Questions before you print
The details couples ask about
Short answers about the code on the sign, printing it yourself, and who can open the album.

What is the QR code on the sign for?
The code opens the wedding album in a phone browser, where a guest can choose photos to add or browse what everyone else has added. It is not a code that starts a camera roll upload, and it does not need an app or an account.
Can we print the sign at home?
Yes. Every RevelPics plan includes a printable sign. Printing is not included, so you can use a home printer or a print shop. The printing checklist above is the part that decides whether the code scans.
Do guests need an app or an account to add photos?
No. The code opens the album in the browser. Guests choose photos from the phone they already have and add them without installing anything or creating an account.
Can guests share the album from their own phone?
Yes. A guest can send the link to someone who is not at the wedding, and that person can open the album too, subject to any guest password you set. There is no invitation-only list behind the link.
What if the venue has poor Wi-Fi?
Uploading needs an internet connection. If the signal is weak during the reception, a guest can keep the link and add their photos later, as long as the album is still inside its adding window. Photos do not upload while the phone is offline.
How long can guests add photos?
That depends on the plan. The entry plan allows adding for 90 days from the event date, and the album stays online for 90 days. Your dashboard shows the exact date the album stops taking new photos, and that date is the one to check before printing a reminder card.
Can we customize the sign?
The printable sign is included with every plan. Custom sign designs depend on the plan you choose, and the plans page lists what each one includes. The wording and placement advice here applies either way.
Who can see the album?
Anyone with the link or the QR code can open the album, subject to an optional guest password. A password narrows who can get in, but it is not an invitation-only list: someone with both the link and the password can share them. If the album is meant to be private, do not publish the link or the password on a public page or a social post.

A sign is one part of the album
RevelPics gives you the shared album, the printable sign and the guest link. The wording and the placement are yours to adapt to the room.